
How to Install Custom Doors: DIY Tips from the Experts


Installing custom doors can transform the look and feel of your home, adding both aesthetic appeal and functionality. While the process might seem daunting, with the right tools and guidance, it can be a rewarding DIY project. Here are some expert tips to help you successfully install custom doors.
Gathering the Right Tools
Before you begin, it's crucial to gather all necessary tools and materials. Common tools you'll need include a measuring tape, screwdriver, level, drill, and saw. Having the right tools on hand will make the installation process smoother and more efficient.
Additionally, ensure that you have the correct door hinges, screws, and a door handle or knob that complements your custom door. Investing in quality materials will enhance the door's durability and appearance.
Measuring and Preparing the Door Frame
Accurate measurements are essential for a successful installation. Measure the height, width, and depth of the door frame to ensure your custom door fits perfectly. Remember to account for any flooring changes that might affect the door's clearance.
Once you've measured, prepare the door frame by removing the old door and any existing hardware. Check for any damage or warping in the frame, and address these issues before proceeding with the installation.
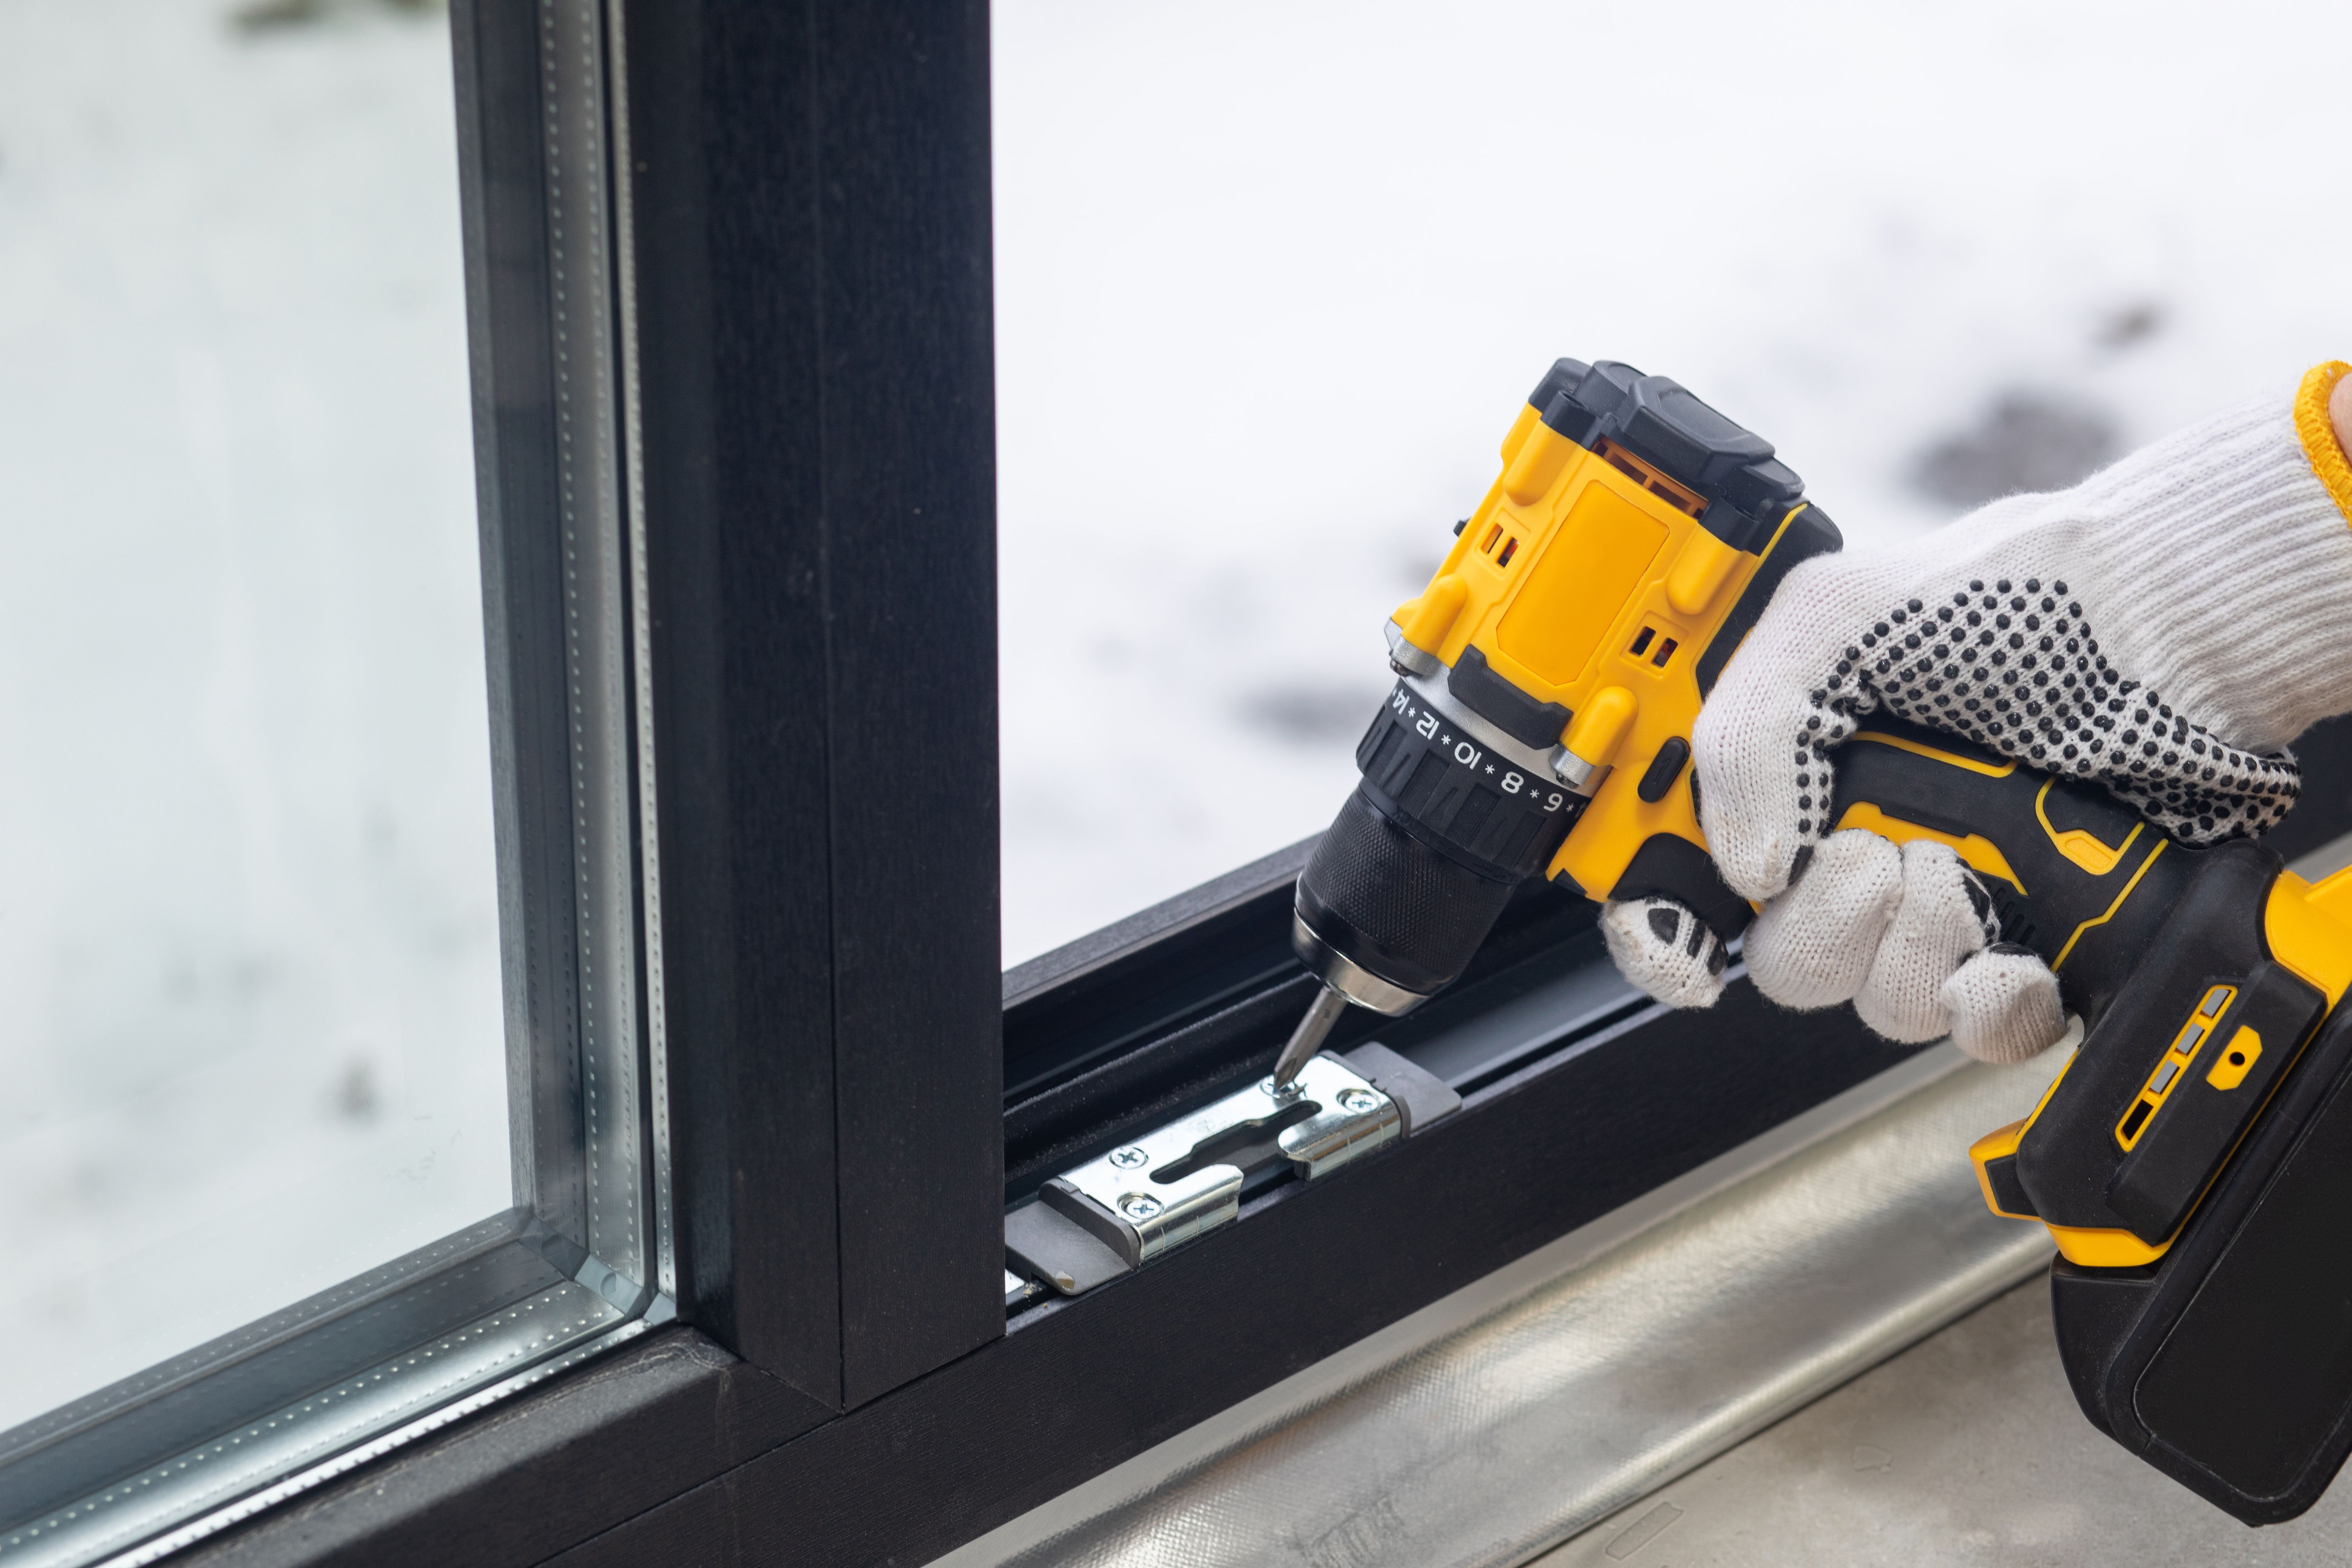
Installing the Hinges
With the frame ready, the next step is to install the hinges. Position the door in the frame and mark where the hinges will go. It's generally recommended to place one hinge about 5 inches from the top and another 10 inches from the bottom.
Drill pilot holes for the screws and attach the hinges to the door. Then, secure the other side of the hinges to the door frame. Ensure the door swings smoothly and make any necessary adjustments to the hinge placement.
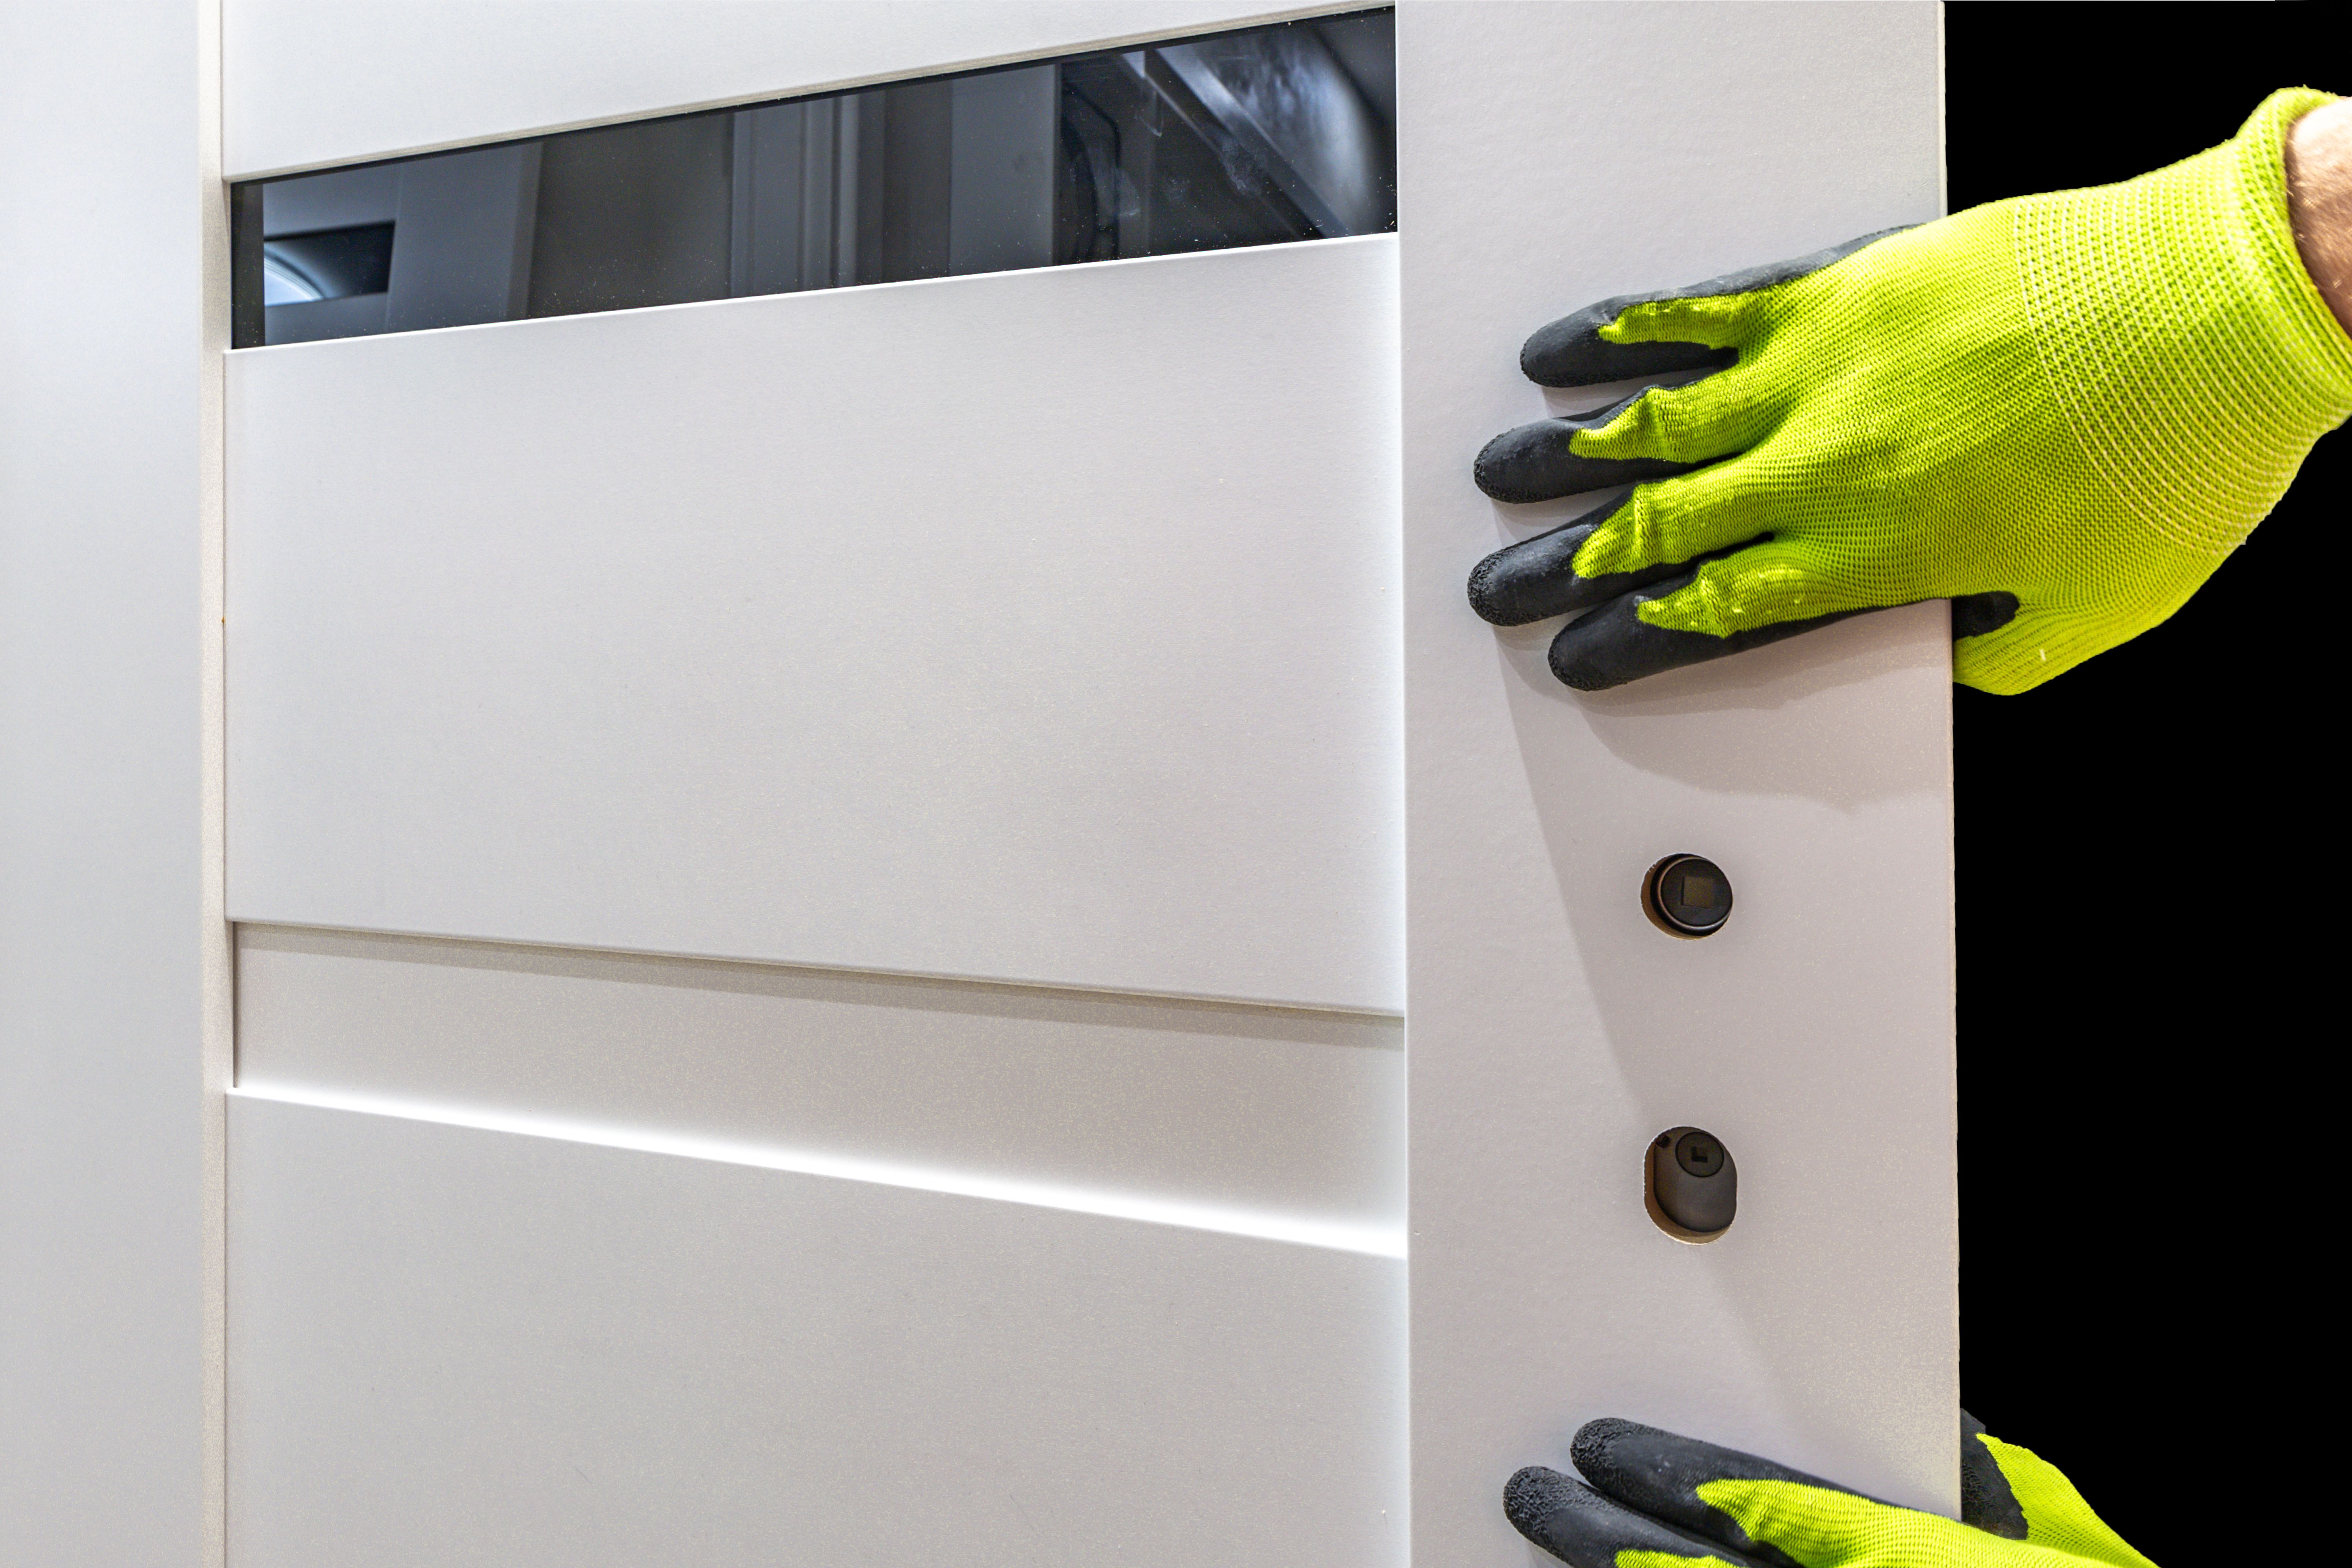
Hanging the Door
Carefully lift the door and align it with the door frame. It can be helpful to have an extra pair of hands for this step. Once aligned, insert the hinge pins to secure the door in place. Check that the door opens and closes without obstruction.
If the door doesn't fit perfectly, you may need to make minor adjustments. Use a plane or sander to trim any excess material from the edges, ensuring a snug fit.
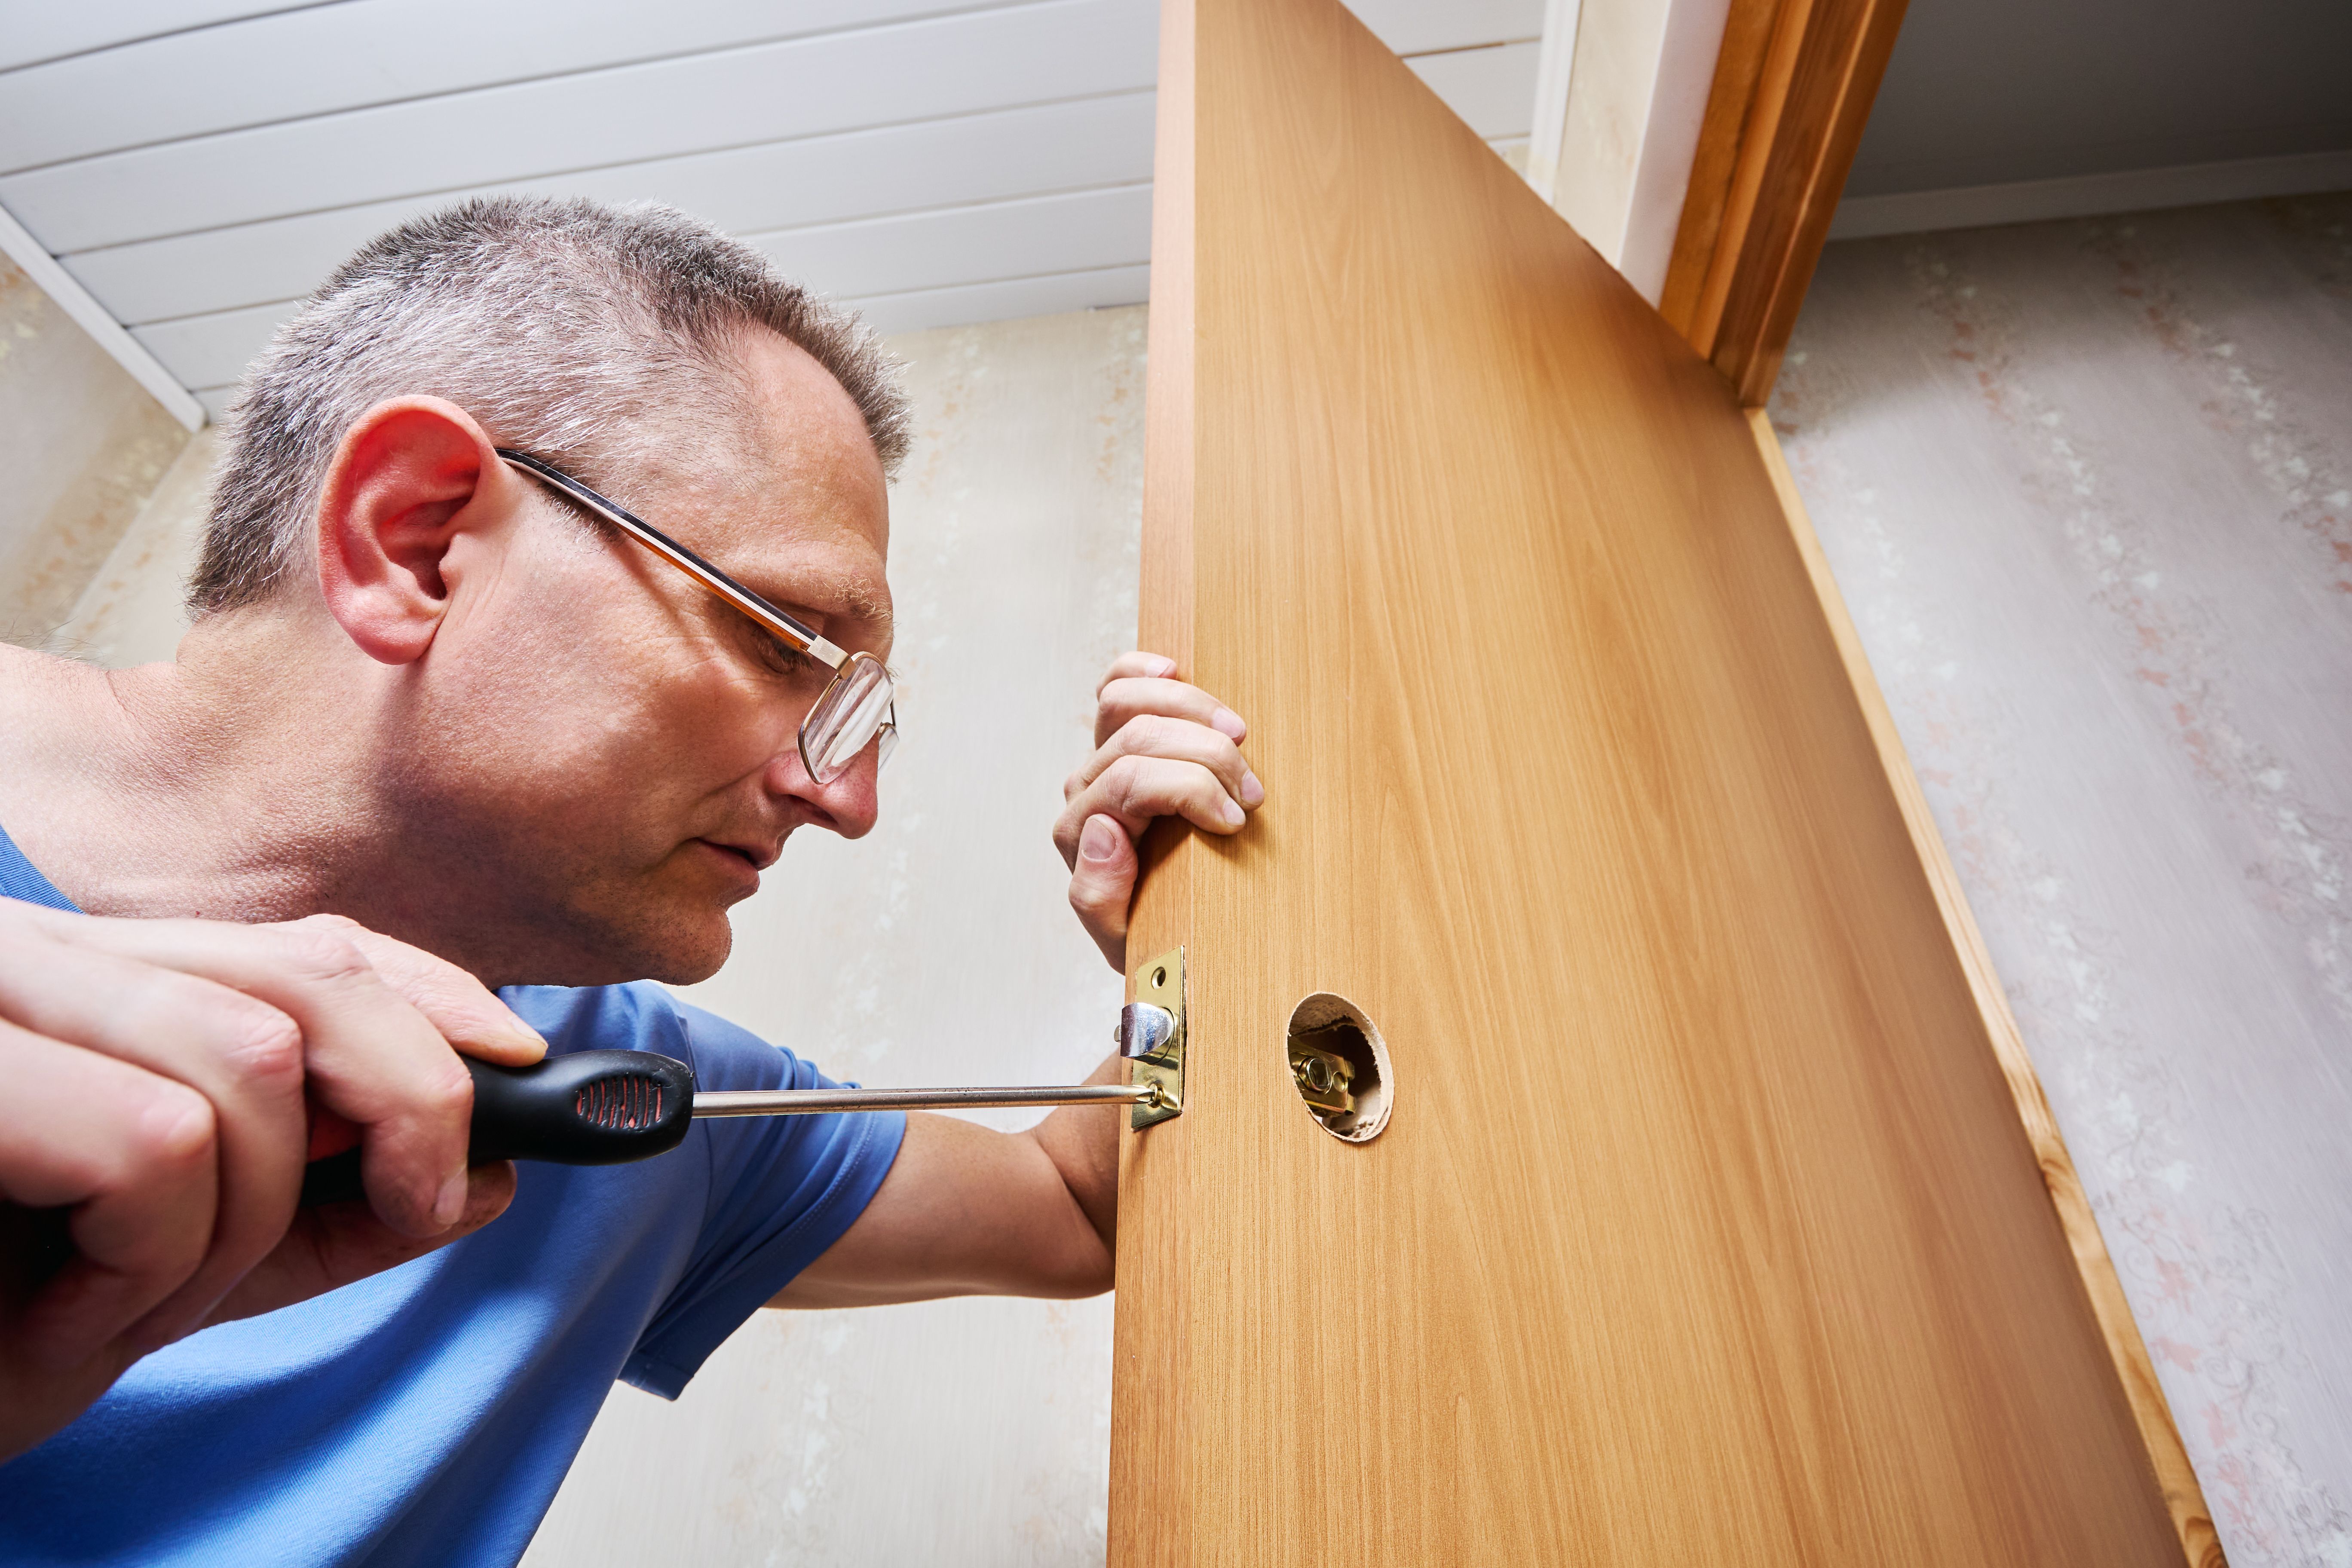
Installing the Door Hardware
With the door hung, it's time to install the hardware. Follow the manufacturer's instructions to attach the door handle or knob, ensuring it operates smoothly. If you're installing a lock, carefully follow the template provided to drill the necessary holes.
Final Touches and Inspection
Once the door and hardware are installed, perform a thorough inspection. Check for any gaps or irregularities in the door's fit. Adjust the hinges or hardware as needed to achieve a perfect alignment.
Finally, consider adding weatherstripping or a door sweep to improve energy efficiency and reduce noise. These simple additions can make a significant difference in your home's comfort.
By following these expert tips, you can successfully install custom doors, enhancing both the style and functionality of your home. With patience and attention to detail, your DIY project will be a rewarding experience, leaving you with a beautiful new feature to enjoy.