
Expert Tips for DIY Interior Door Installation


Choosing the Right Door
When embarking on a DIY interior door installation project, selecting the right door is crucial. Consider factors such as material, style, and size. Doors come in various materials like wood, MDF, or glass, each offering unique benefits. For instance, solid wood doors are durable and provide excellent sound insulation, while MDF doors are cost-effective and easy to paint.
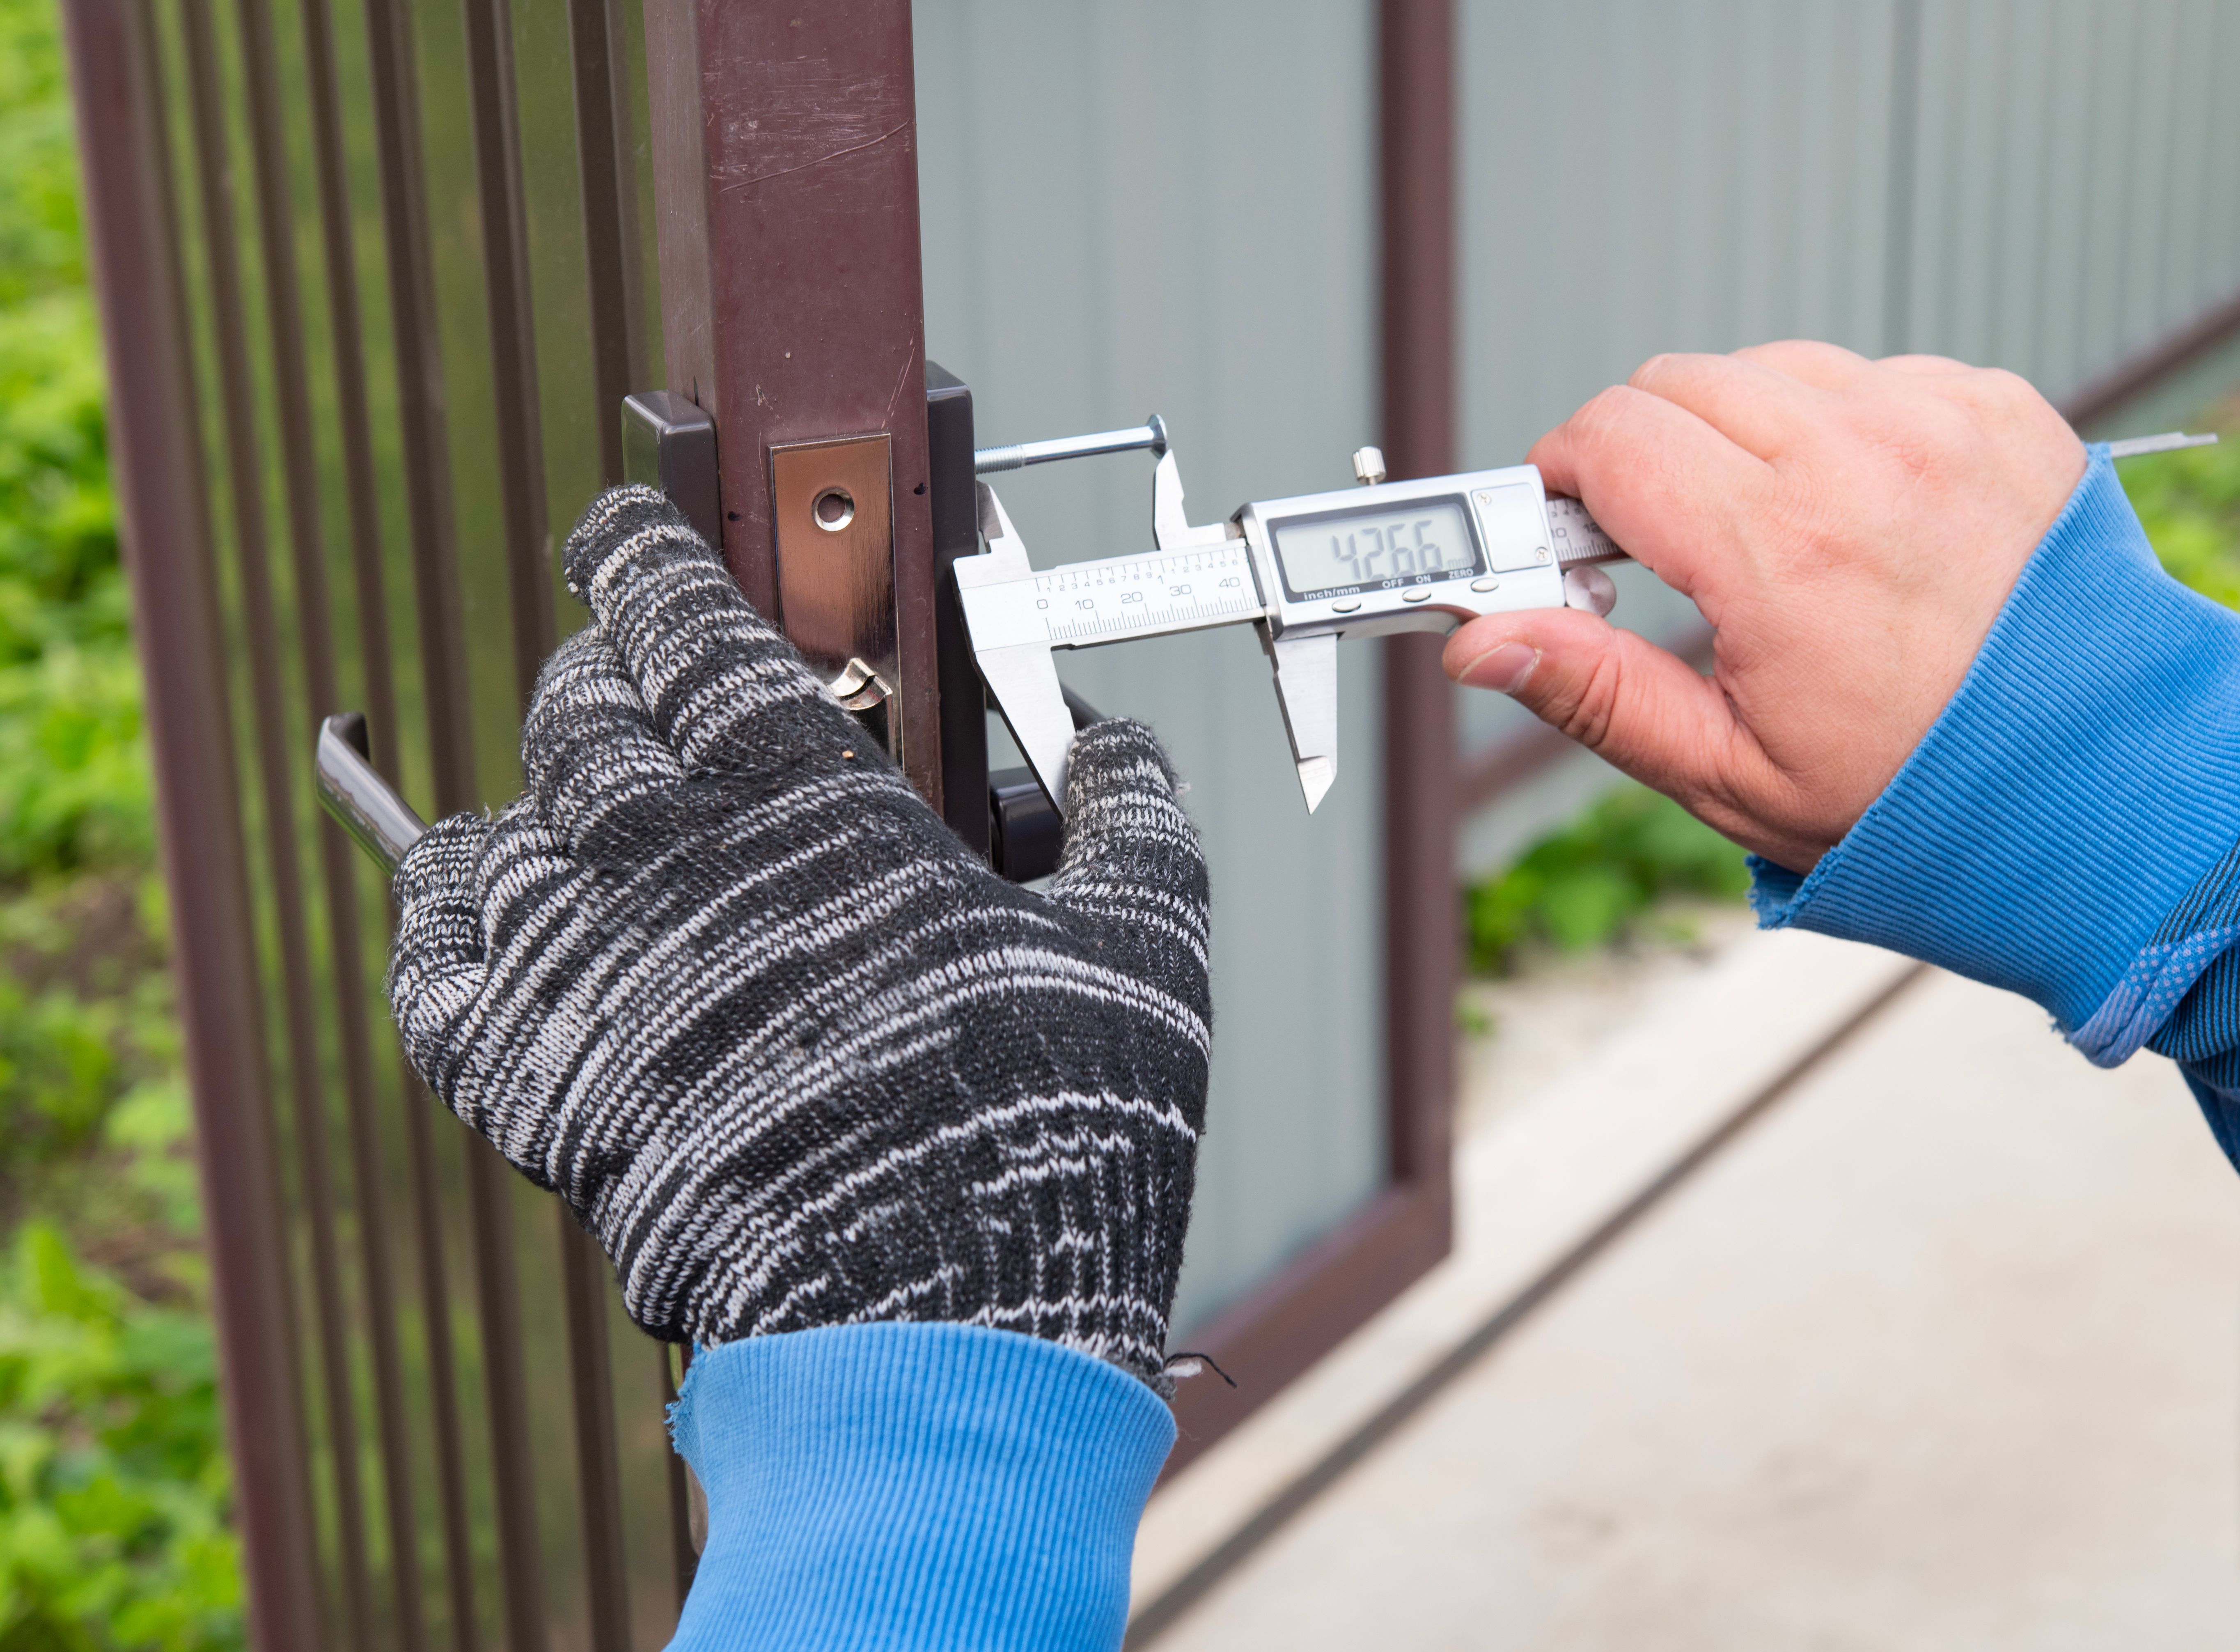
It's also essential to ensure that the door fits the dimensions of your existing door frame. Measure the door width, height, and thickness accurately to avoid complications during installation. If you're replacing an old door, try to match the new door's style to your existing decor for a cohesive look.

Gathering the Necessary Tools
Having the right tools at your disposal will make the installation process smoother and more efficient. Essential tools include a tape measure, level, screwdriver, hammer, chisel, and a saw. Depending on the specifics of your project, you might also need a drill and a door-hanging kit.
Before starting, lay out all the tools and materials you'll need to avoid interruptions during the installation. This preparation step can save you time and help you maintain focus as you work through each stage of the project.
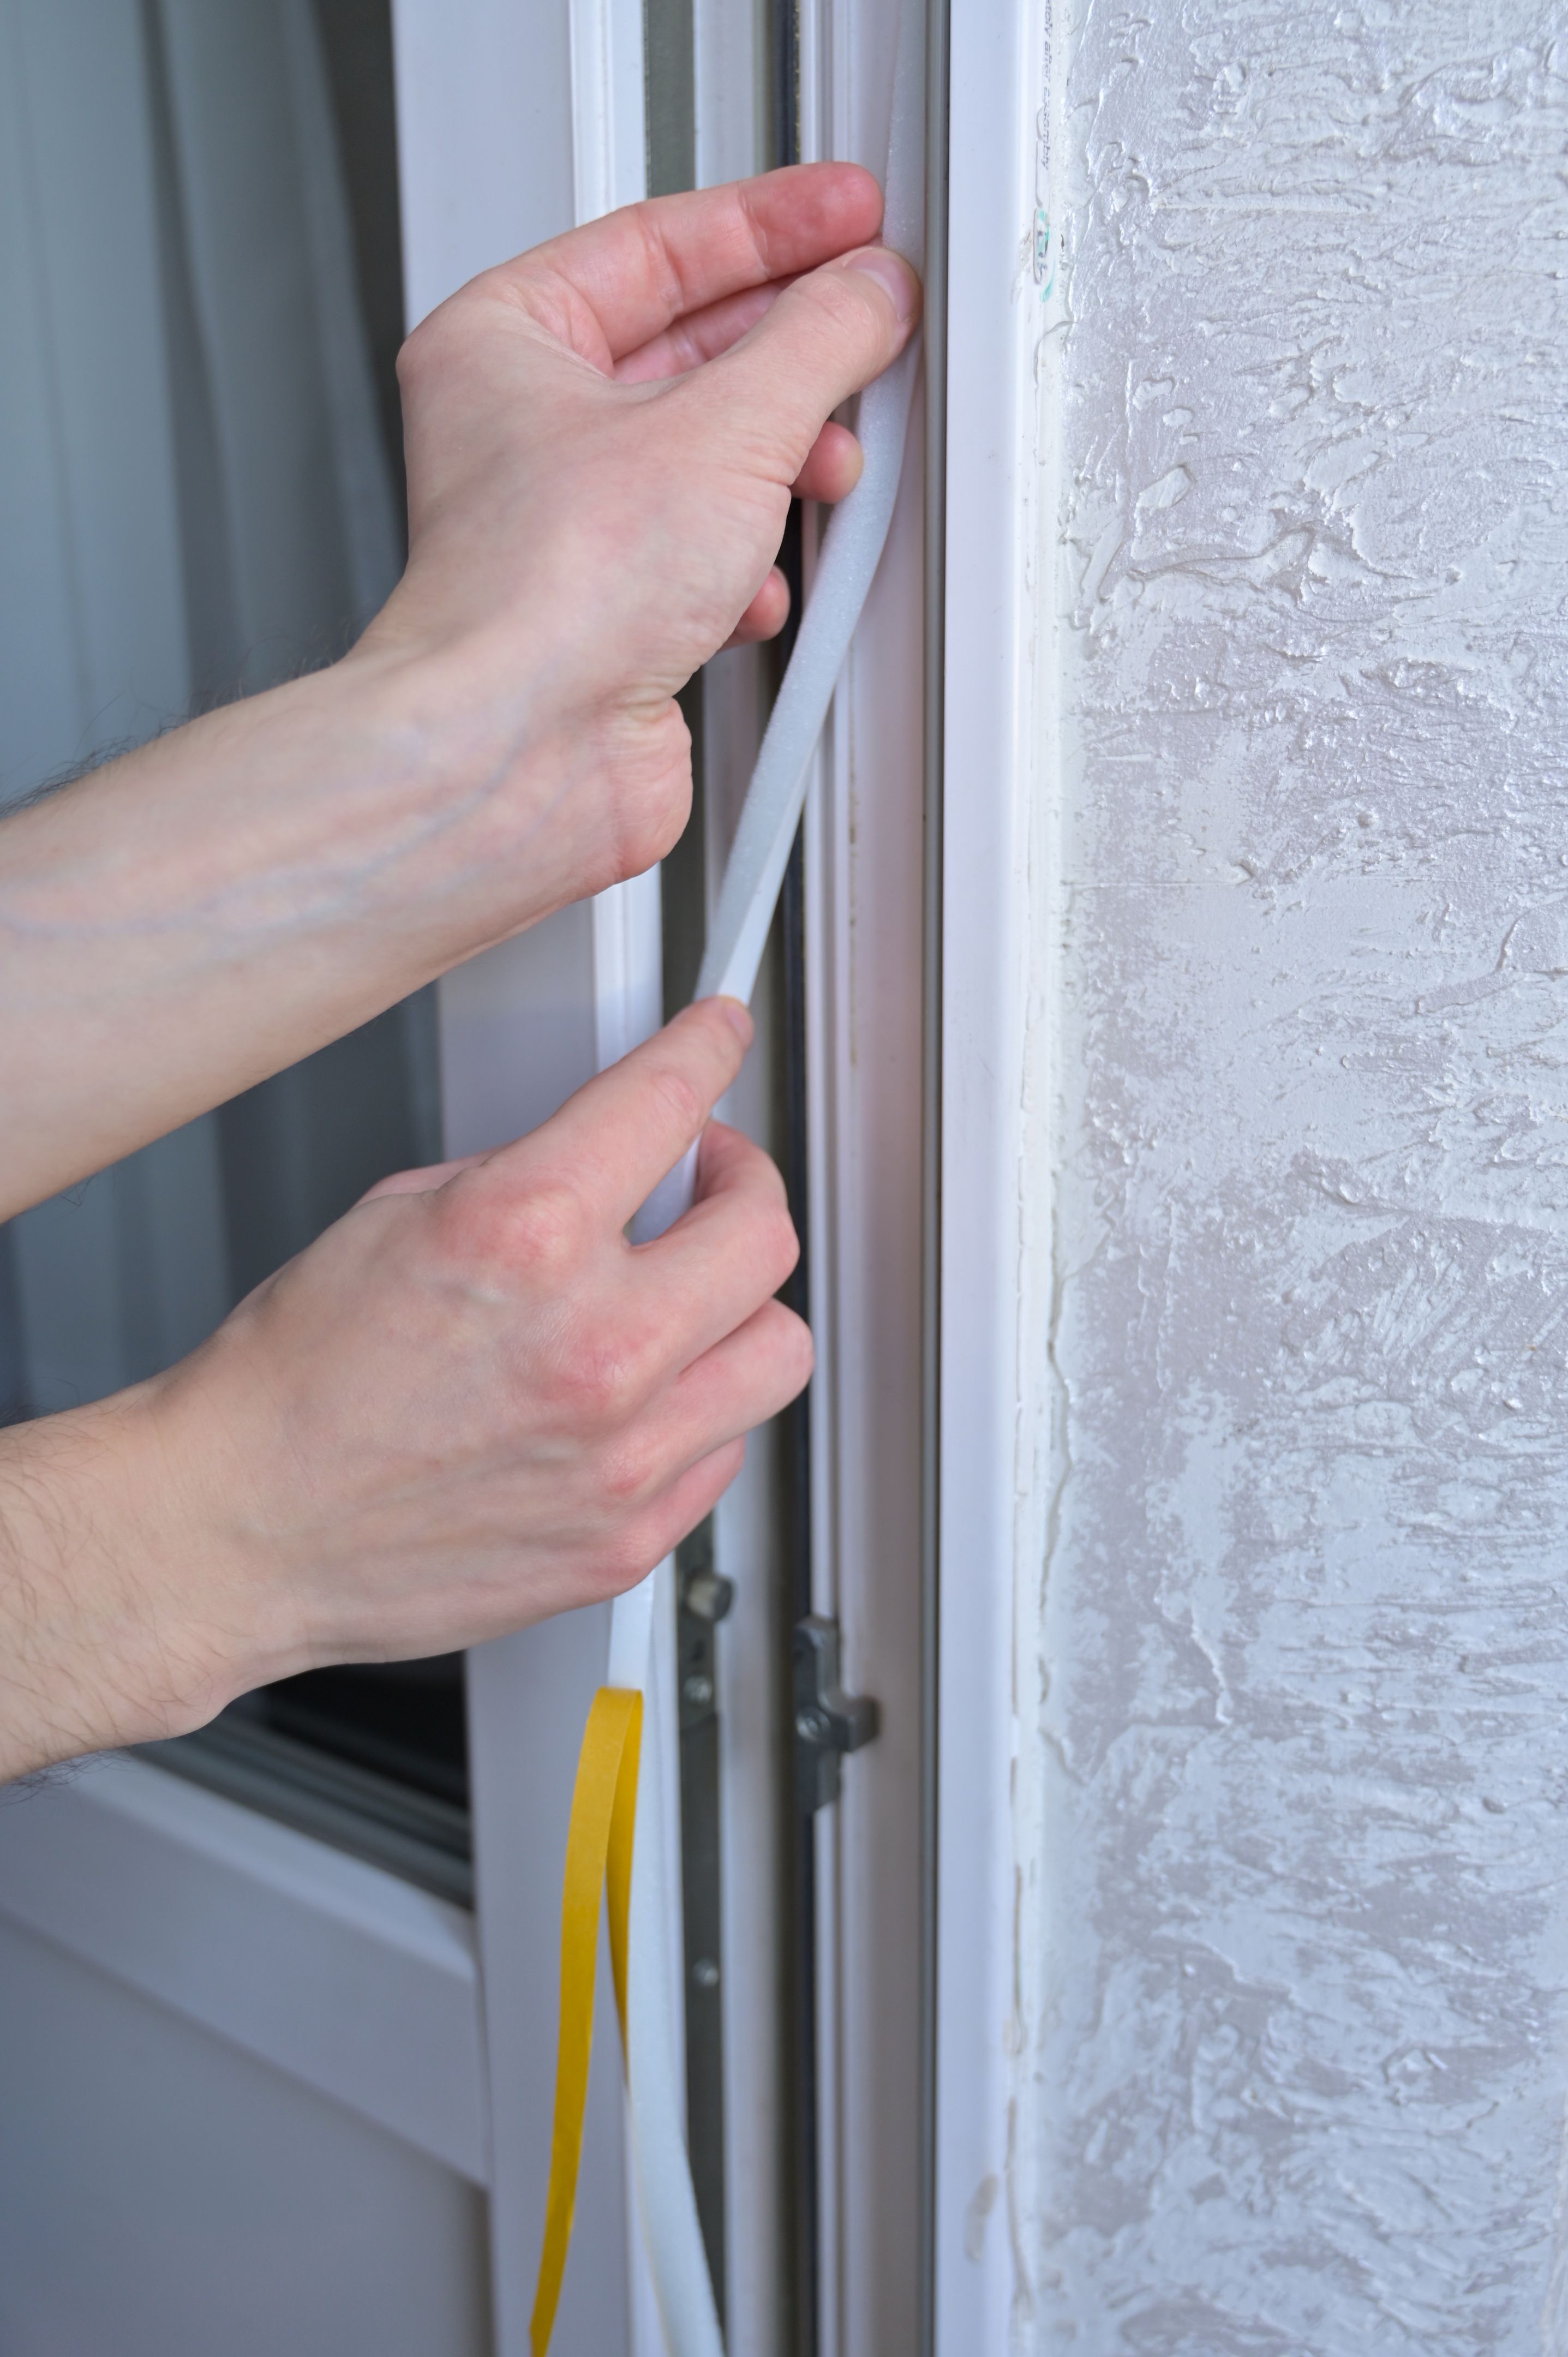
Preparing the Door Frame
A well-prepared door frame is vital for a successful installation. Begin by removing the old door and any remaining hardware. Examine the door frame for any damages or irregularities that could affect the new door's alignment. Repair any issues, such as filling holes or sanding down rough edges.
Ensure the frame is clean and free of debris. A precise and level frame will make it easier to hang the door correctly, preventing future problems like sticking or uneven gaps.
Hanging the Door
Start by attaching the hinges to the door. Position them approximately 7 inches from the top and 11 inches from the bottom for optimal support. Use a chisel to create shallow recesses on the door edge where the hinge plates will sit flush.
Once the hinges are attached to the door, position the door within the frame. Have someone assist you in holding the door in place while you mark the hinge positions on the door frame. Secure the hinges to the frame using screws, ensuring the door opens and closes smoothly.
Installing the Doorknob and Latch
With the door hung, it's time to install the doorknob and latch. Begin by marking the desired height for the doorknob, typically around 36 inches from the floor. Drill the necessary holes for the doorknob and latch mechanism according to the manufacturer's instructions.
Insert the latch into the edge of the door and fasten it with screws. Align the doorknob components and secure them in place. Test the doorknob to ensure it functions correctly and locks securely.
Final Adjustments and Finishing Touches
After installing the doorknob, check the door's alignment within the frame. Ensure there are even gaps along the top and sides and that the door swings freely without obstruction. If necessary, make slight adjustments to the hinges or use shims to achieve a perfect fit.
Finally, consider finishing touches such as painting or staining the door to match your interior design. Applying a protective coat will enhance the door's appearance and longevity, making it a valuable addition to your home.