
DIY Guide: Installing Flooring in Your Lilburn Home Like a Pro


Transforming your Lilburn home with new flooring can seem daunting, but with the right guidance, you can achieve professional results on your own. Whether you're looking to update a single room or the entire house, this DIY guide will walk you through the process step by step.
Choosing the Right Flooring
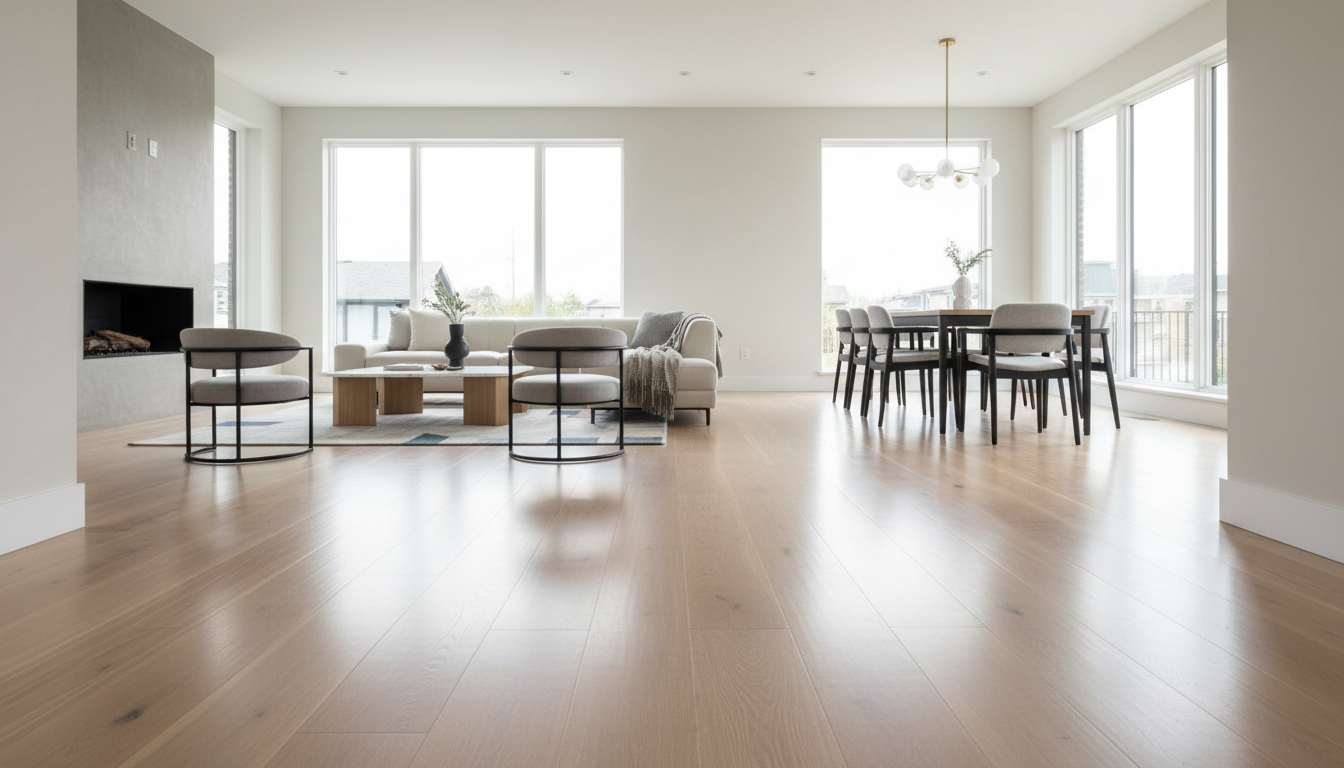
The first step in any flooring project is selecting the appropriate material. Consider factors such as durability, maintenance, and aesthetics. Common options include hardwood, laminate, vinyl, and tile. Each has its pros and cons, so think about the specific needs of your home.
Hardwood Flooring
Hardwood offers a classic, timeless look and adds value to your home. It's durable and can be refinished if it becomes worn. However, it can be susceptible to moisture, so it's best used in areas like living rooms and bedrooms.
Laminate and Vinyl Flooring
Laminate and vinyl are excellent choices for budget-conscious homeowners. They mimic the look of natural wood or stone and are easy to maintain. These materials are also more resistant to scratches and moisture, making them suitable for kitchens and bathrooms.
Gathering Your Tools and Materials
Once you've chosen your flooring, gather the necessary tools and materials. Here's a basic list to get you started:
- Flooring material
- Underlayment
- Measuring tape
- Utility knife
- Flooring adhesive or nails
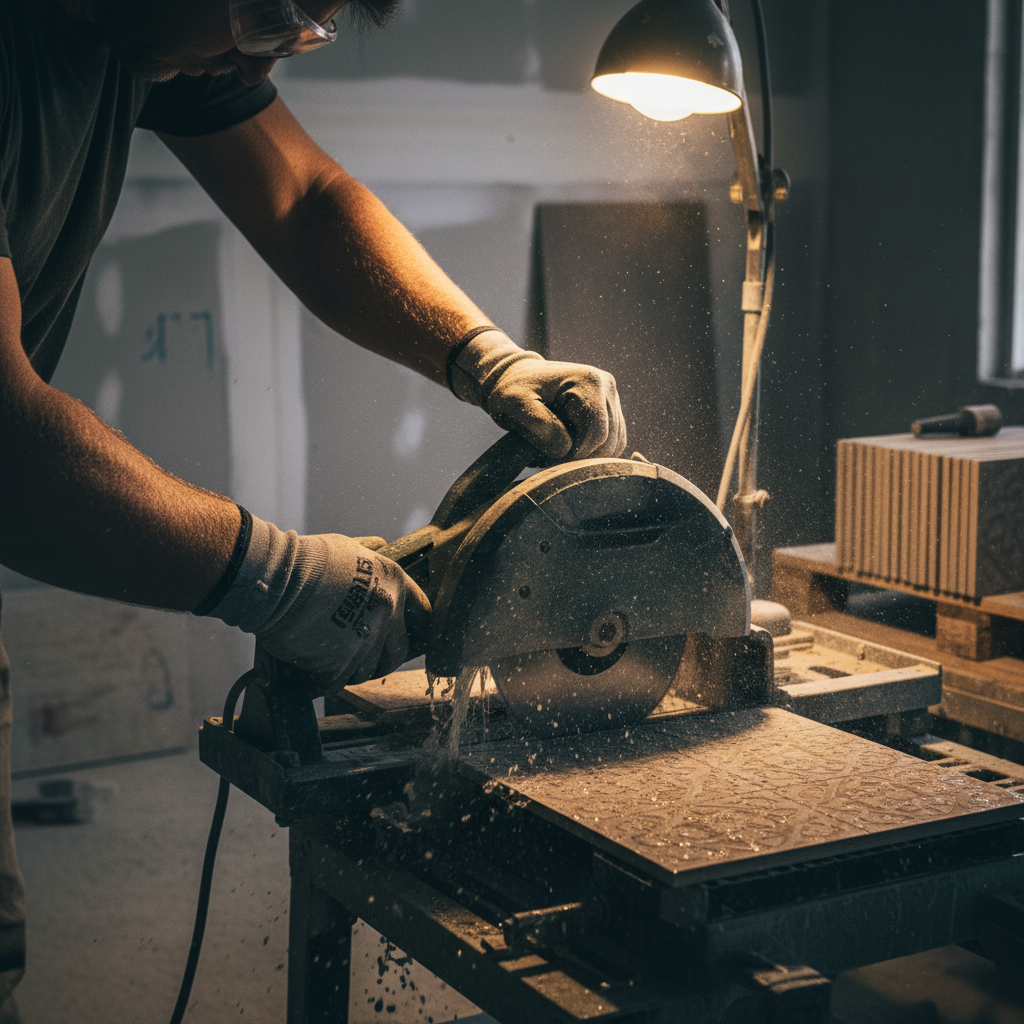
- Saw (for cutting flooring)
- Spacers
- Rubber mallet
Preparing Your Space
Preparation is key to a smooth installation. Start by removing any old flooring and thoroughly cleaning the subfloor. Check for any damage or uneven areas, as these can affect the final result. An even, clean surface is essential for a successful installation.
Installing Underlayment
Underlayment provides a smooth surface for your flooring and helps with soundproofing. Roll it out across the floor, ensuring it covers the entire area. Use tape to secure the seams and trim any excess with a utility knife.
Installing Your Flooring
Now it's time for the main event—installing your new flooring. Follow these general steps to achieve a professional finish:
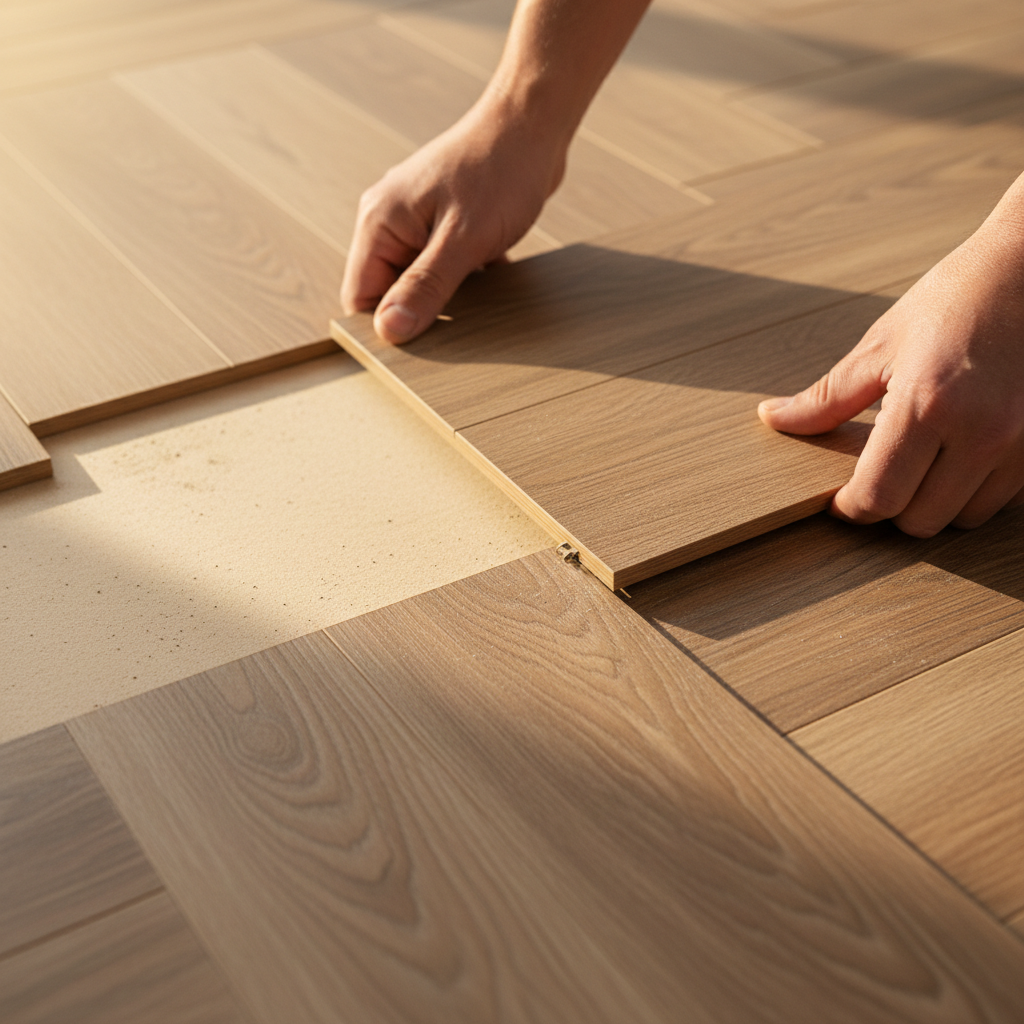
- Start in one corner of the room and lay down the first row, using spacers to maintain a gap from the wall.
- Fit the next piece snugly against the first, using a rubber mallet to ensure they're tightly joined.
- Continue this process row by row, staggering the seams for a natural appearance.
- Trim pieces to fit as needed, especially around corners and doorways.
Finishing Touches
With the flooring installed, remove the spacers and install baseboards or molding to cover the expansion gap. This will give your room a polished, finished look.
Finally, clean your new floor according to the manufacturer's recommendations. Avoid using harsh chemicals and ensure that any excess adhesive or dust is removed.
By following these steps, you can install flooring in your Lilburn home with confidence. Enjoy the satisfaction and pride that comes with completing a DIY project!